DIY

Homemade Spa Pedicure Recipes: Tried & True

Homemade-Spa-Pedicure-Recipes
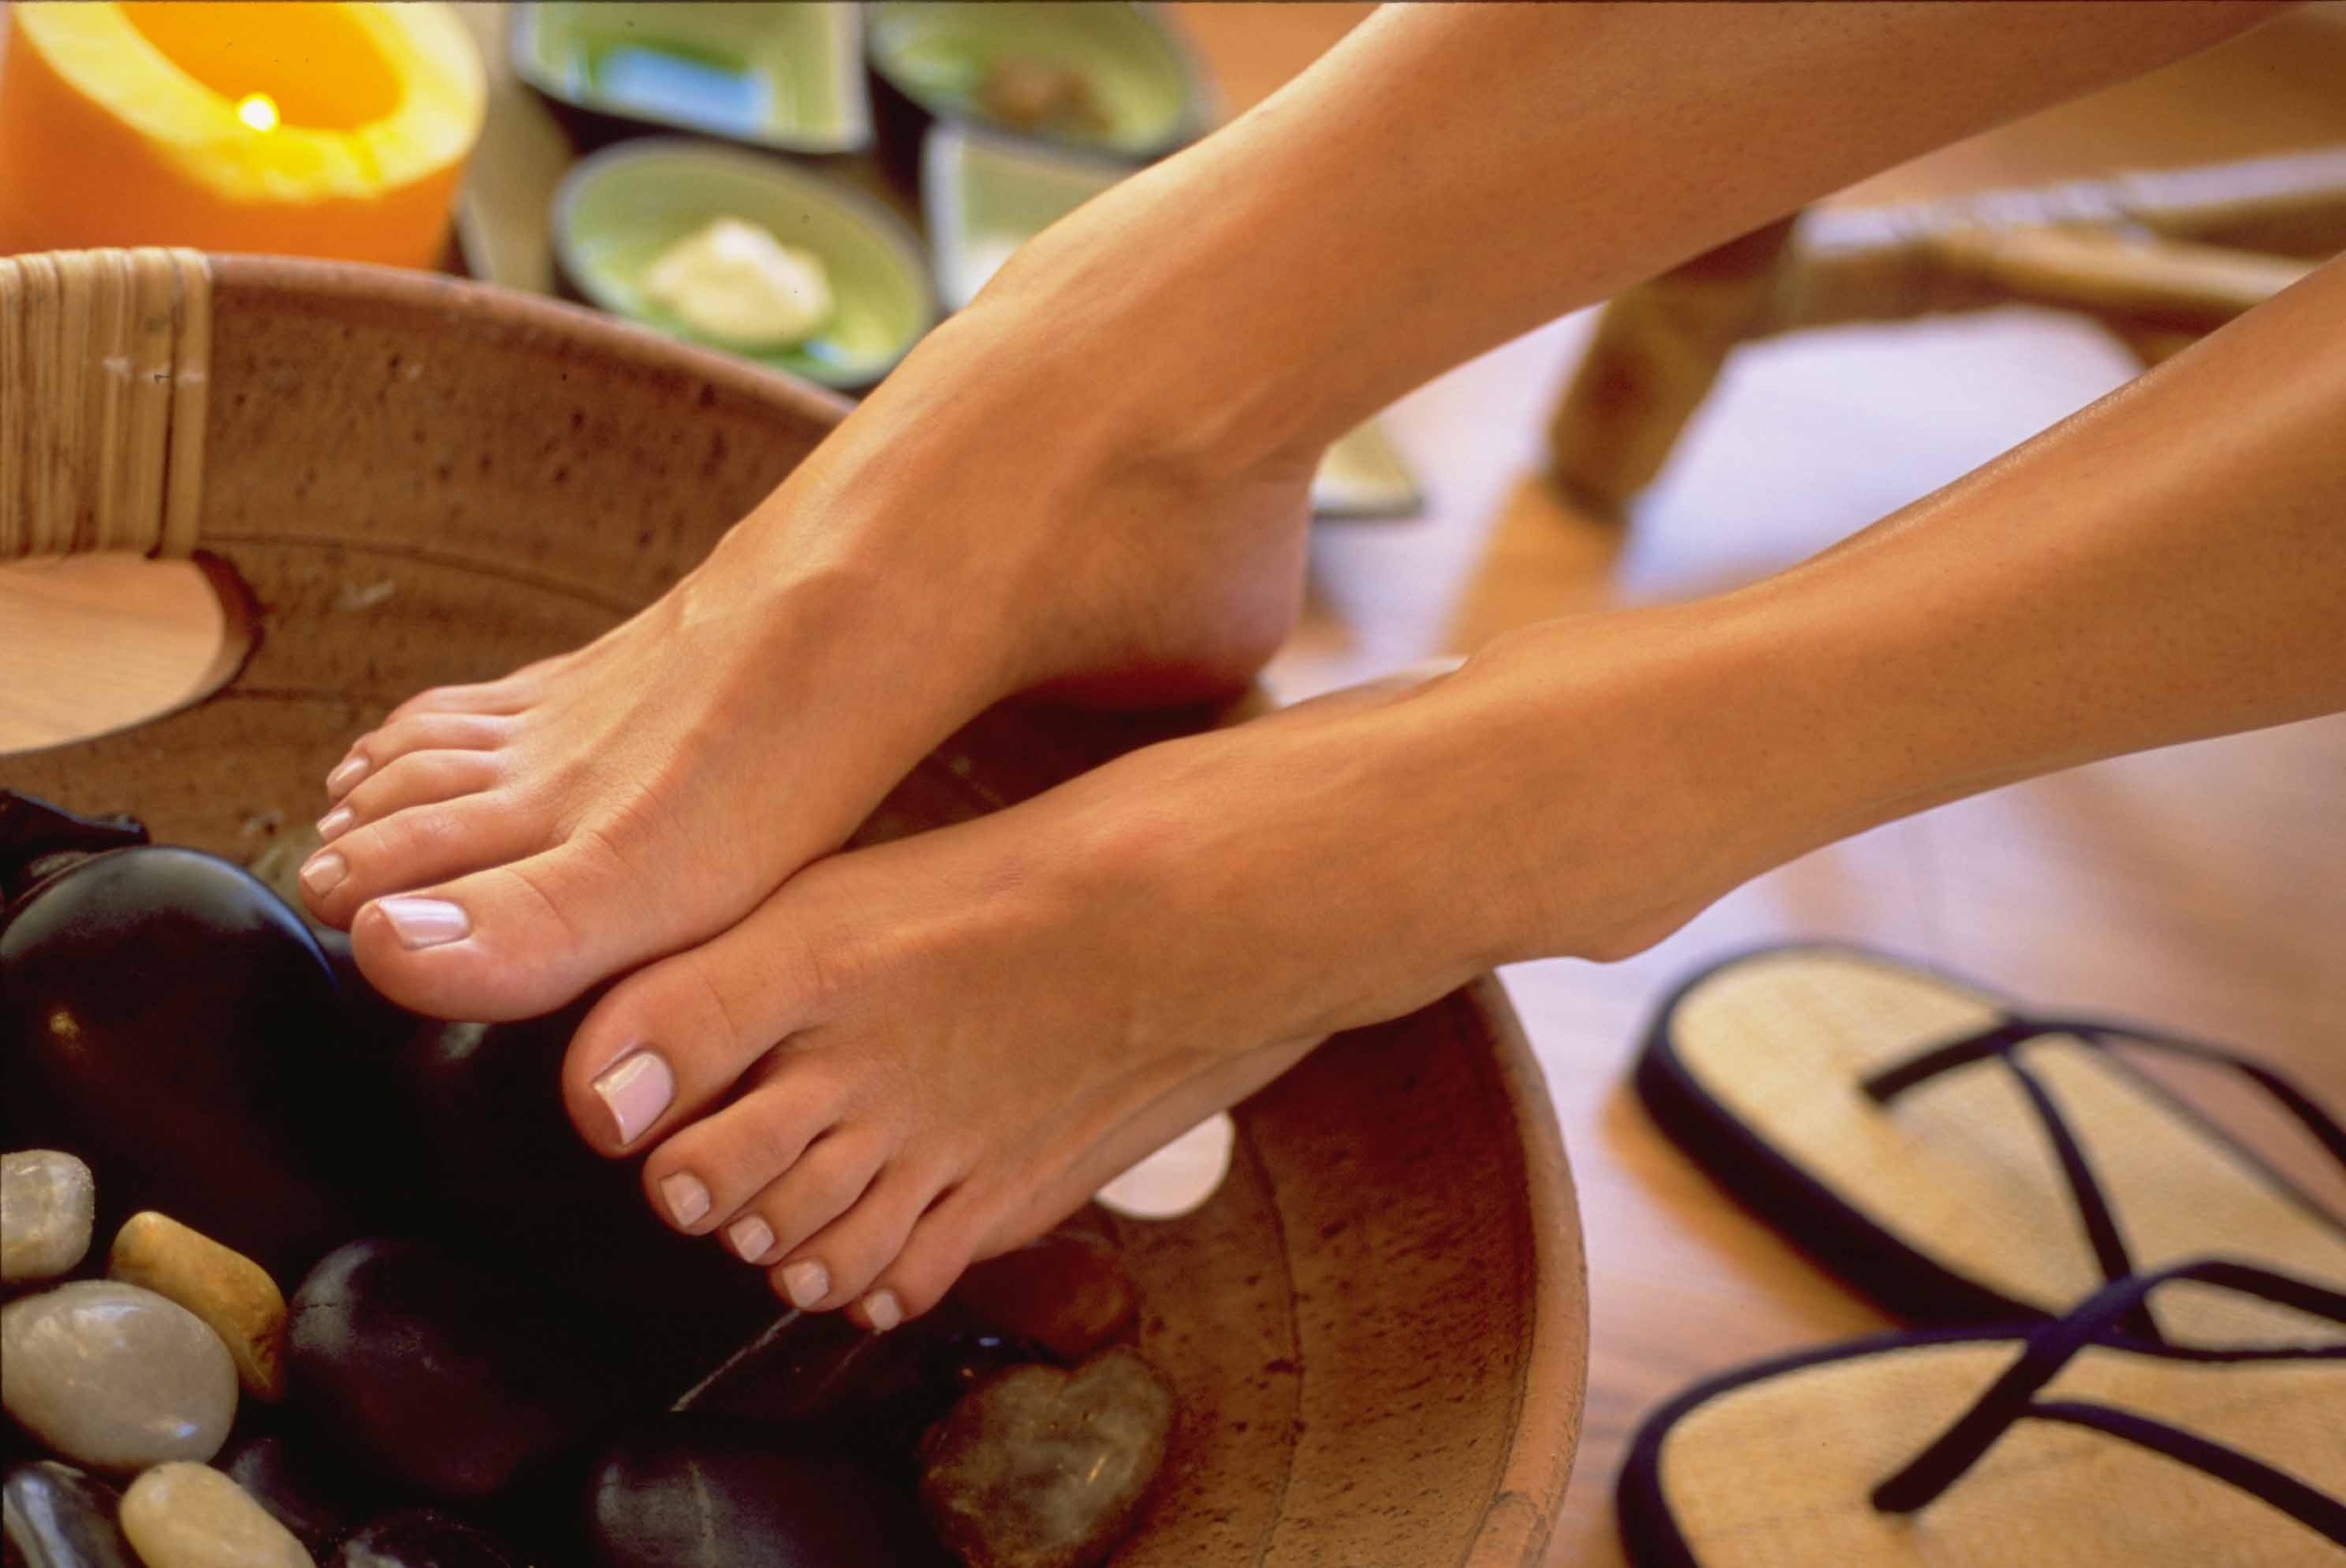
Summer means two things to every girl, one is that it’s time to break out the razor and shave your legs regularly again and two, that it’s time to hit the salon for a pedi. Now, I’m not going to lie, I love getting a good pedicure as much as the next girl, but when I recently walked into my salon and noticed they jacked the prices of the spa pedicures to basically a years worth of my college tuition, I was personally offended! So, I turned to the one place I knew had the best homemade spa pedicure recipes –Pinterest, and tested out my favorites. You with me?  These are easy and fun to do on a relaxing Sunday night.

For the sake of research, I tried and tested a few different homemade spa pedicure recipes, (much to my boyfriend’s amusement, apparently I was a sight to see with one leg gooped up with coconut oil and the other green from avocado), to see which ones worked the best. After much debate, I’ve finally found recipes that guarantee to have your toes summer ready that can be done in the comfort of your own home, with your Netflix account, and that endless buffet of food known as your fridge within reach.

homemade-spa-pedicure-recipes1
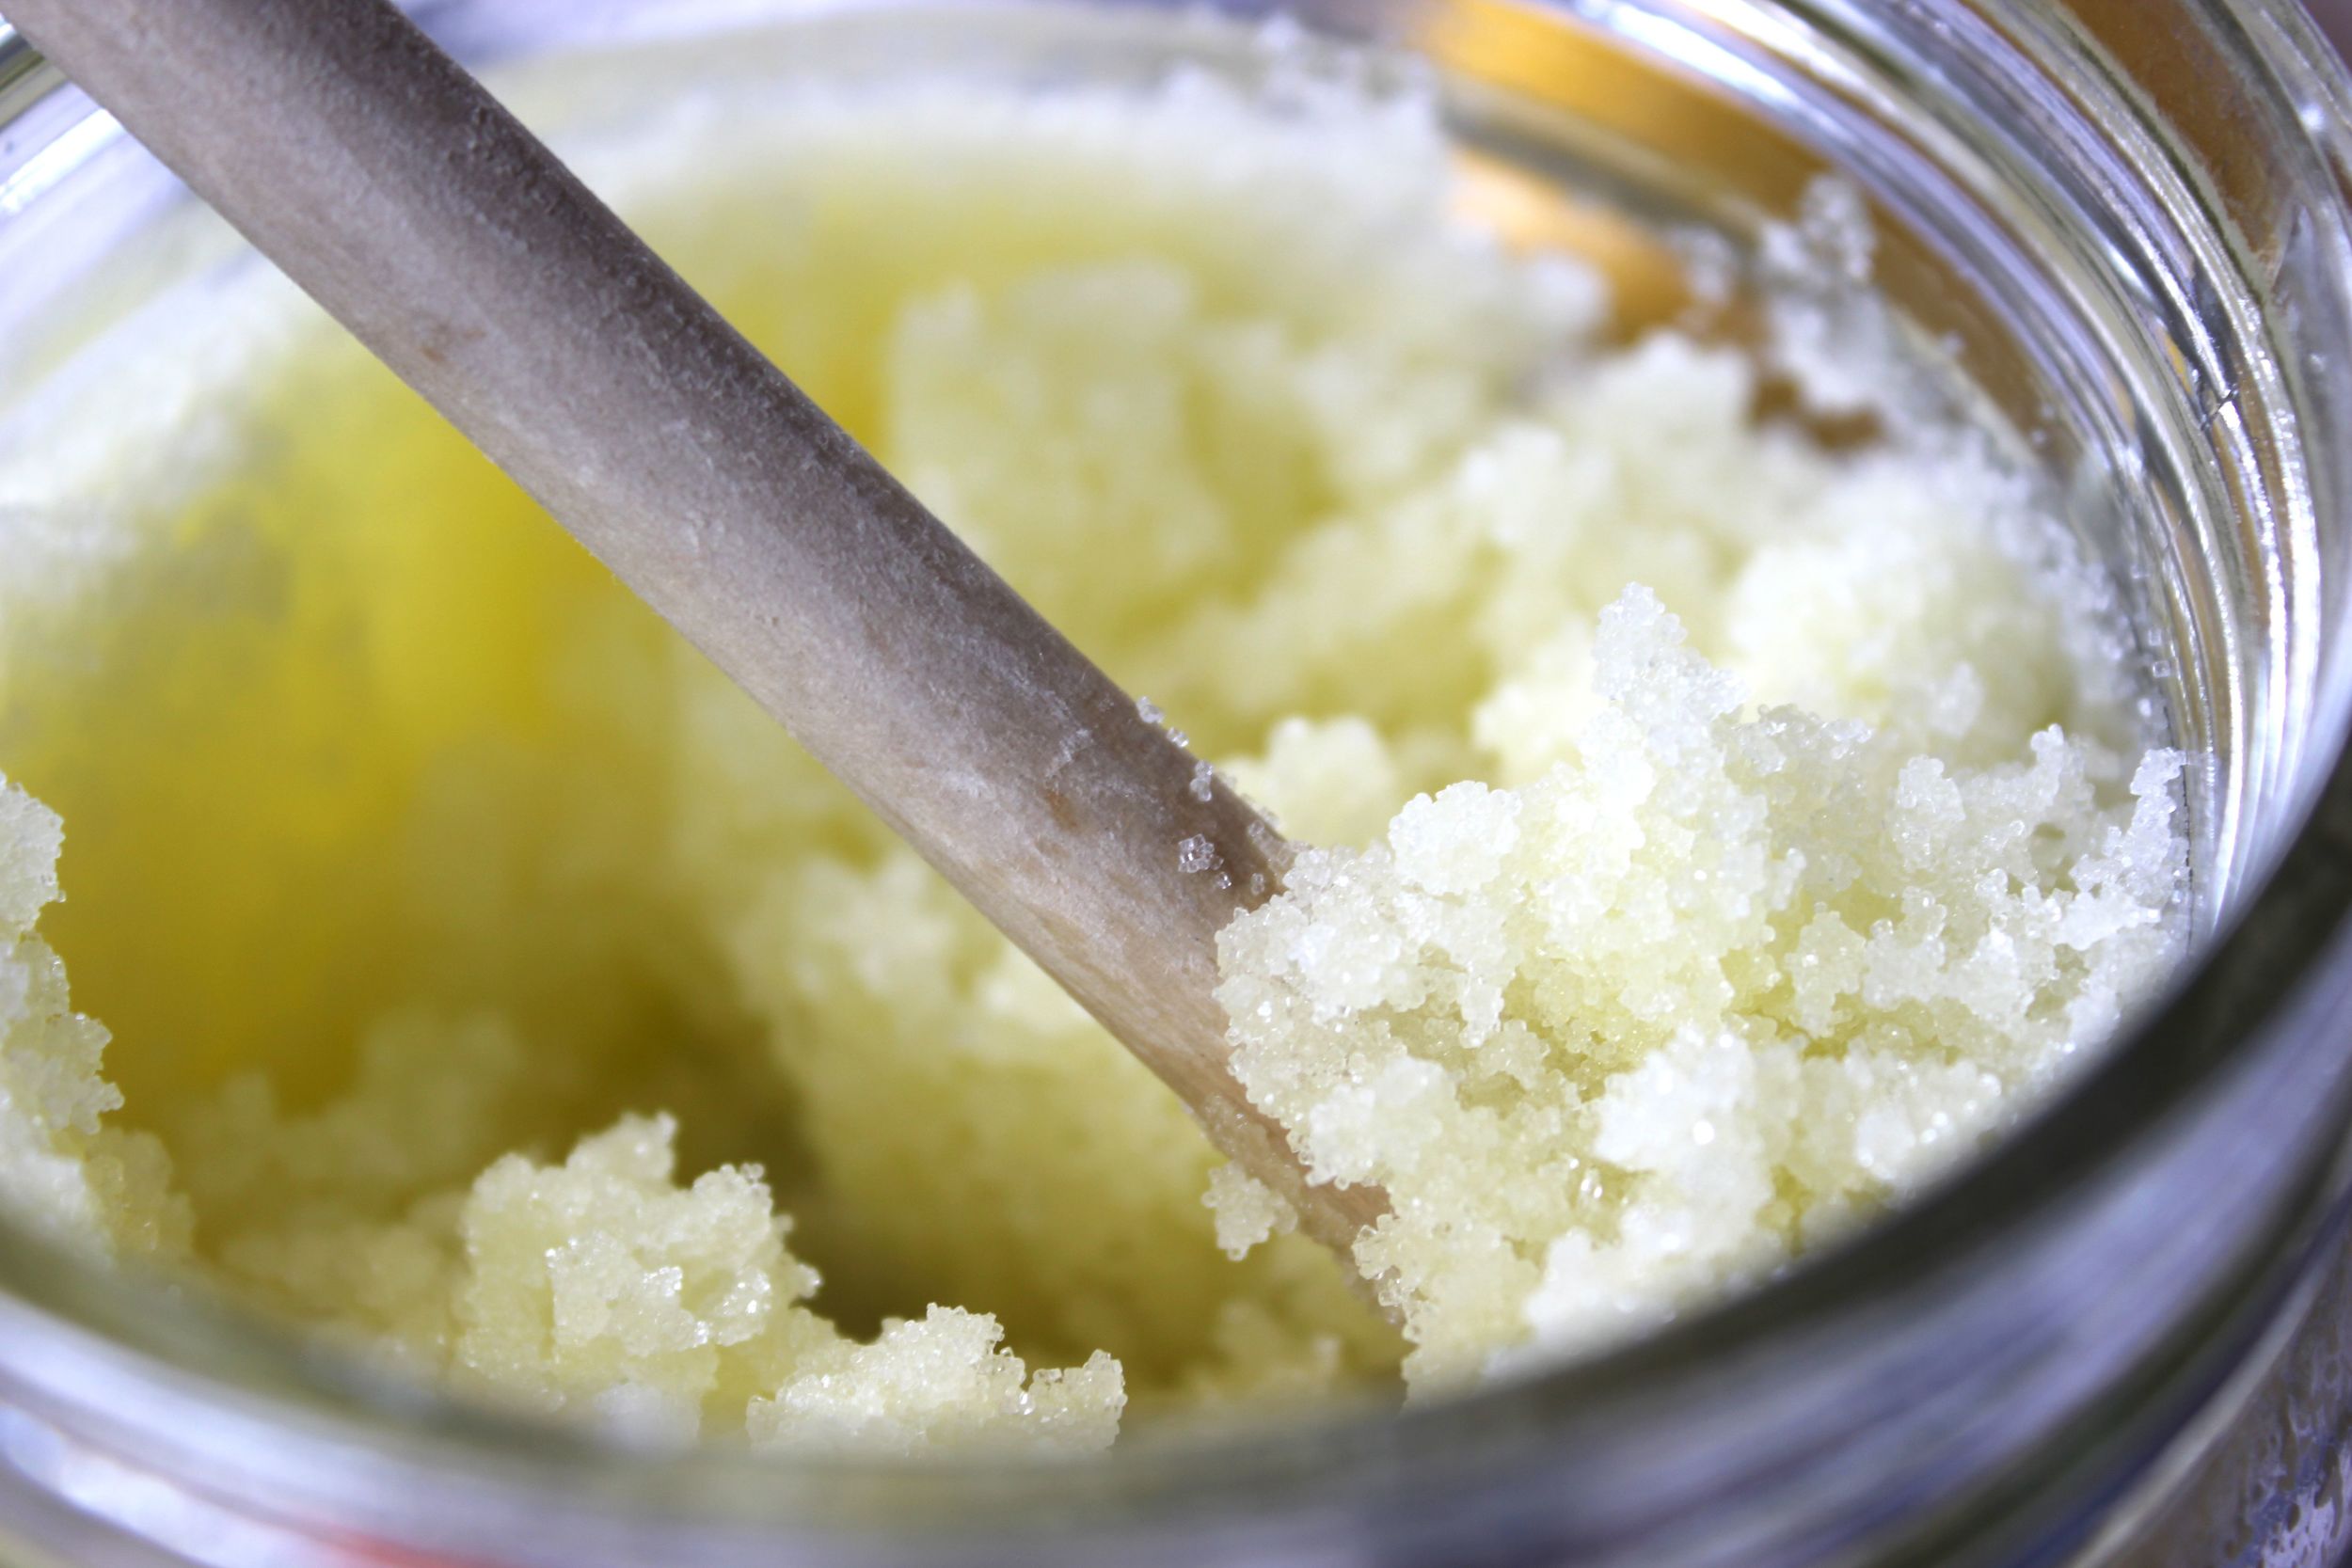
Recipe 1: DIY Salt Scrub

Ingredients:

Coarse Sea Salt

Honey (Natural is best, but I’m poor so I used the golden bear and it worked just fine)

Olive oil

Steps:

  1. Combine ½ cup of the sea salt with 1 tsp. of honey and 3 T. of olive oil
  2. Mix thoroughly
  3. Scrub mixture onto the heels or other calloused parts of your feet to slough away any dead skin that might be hanging out there and to increase circulation
  4. Rinse the scrub and massage your feet and legs with the moisturizer of your choice
  5. Clean up your nails and polish

homemade-spa-pedicure-recipes2Recipe 2: Avocado Spa Pedicure

Things You’ll Need:

Your homemade sea salt scrub (that you just made above)

½ avocado skin, eat the inside for your lunch

Epsom salt

Pumice stone

Essential oil of choice (Peppermint is awesome, lavender will put you to sleep)

A bathtub or giant bowl if you’re really struggling

Steps:

  1. Run warm water and fill your bathtub until you’re ankle-deep (read: warm, not boiling hot)
  2. Plop in a few drops of your favorite essential oil and dissolve 1/2 cup of the Epsom salts into the water
  3. Put your feet in and relaaaax. I personally dozed off for a bit, but reading is another great low-key option
  4. After soaking for a minimum of ten minutes, grab the pumice stone and go to work scrubbing the calluses on the bottom and heels of your feet
  5. Take the avocado skin and massage it against the spots you just scrubbed with the stone, the idea here is to transfer the skin-enhancing properties of the avocado into your skin
  6. Take the scrub that you made and rub it over the bits of avocado left on your skin (trust me, this feels amazing). Rinse off.
  7. Pat off your feet and you're all set to trim and polish your nails!

DIY Brown Sugar Scrub on Bethenny

Filming with Bethenny was a blast.  I was part of her big beauty segment, "How to Spring Clean Your Face," that aired today along with a dermatologist and esthetician from White Tea Med Spa and showed off how to make a simple, yet effective brown sugar scrub.  Check out the coverage on Bethenny and the recipe below. Brown Sugar Scrub

Ingredients

1/2 fresh lemon 1/2 cup brown sugar 1 tbsp of coconut oil

Benefits

Lemon: a natural source of Vitamin C, commonly used to lighten the skin and even out its tone, also a natural astringent Coconut Oil: condition and moisturize skin Brown Sugar: a natural exfoliator that is softer than other sugars

Directions

1. You can heat the coconut oil until it's melted in a microwave, then stir in the sugar, mashing it up with your spoon. 2. Finally, squeeze the lemon on top and mix.

A DIY Foot Scrub for Sandal Season

Ladies, it's safe to say that pedi season is in full effect.  Even though the weather is throwing has been throwing a curve ball at our spring wardrobe (tights or no tights lately) we're all better off safe than sorry.  I spoke with The Spa at Fontainebleau’s Director of Spa Operations, Josie Feria, who shared a DIY foot scrub designed to renew your skin and make sure your feet are ready.  After all, there's nothing worse than starring at decrepit feet on the subway.

Ingredients:

  • 2 tsps mineral salts

Directions:

  • Soak feet in warm water with mineral salts
  • Massage scrub  onto feet and wrap in warm wet towels, allowing towels to cool off
    • To warm towels – put under very hot faucet /squeeze out excess water and place in microwave unrolled for 1 minute on high (or more time if needed)
  • Using wet towels remove scrub
  • Use pumice stone or other callous reducer on any tough, thick skin – be careful not to overdo it and over sensitize your feet
  • Rinse off
  • Apply body lotion and place feet in plastic bags and cotton socks. Follow towel recipe to warm the socks but use a lower microwave setting and less time for maximum benefit. Leave socks on overnight.

While enjoying your feet treatment try on these complementary experiences:

  • Warm a hand towel and place around your neck to increase relaxation
  • Apply scrub to hands, thoroughly rinse and apply a body lotion and tuck into cotton gloves or mitts for the night

That's it!  Barely any DIY effort and an essential foot scrub.

DIY Skincare: Turmeric & Chickpea Recipe

Are you a big DIYer?  Truth is, I'm completely incapable of being crafty unless it comes to mixing up my own skincare.  It's true what they say – that you can use ingredients right in your own kitchen cabinets to create effective scrubs, cleansers and masks.  My esthetician, Megan McGee from the Bliss Spa gave me the scoop about the benefits of using turmeric and chic peas to create new skincare recipes.  Read on and you may be inspired to whip something up tonight.

"Turmeric is an excellent exfoliating agent and can help you defeat the signs of aging," MgGee explains.  "Chickpeas have manganese, which causes skin cells to produce energy and fight wrinkle-causing free radicals. They also have molybdenum, which detoxifies the skin by removing sulphites and are laced with other nutrients like folate and Vitamin B that work as fuel for the skin cells to repair damage from the sun."

Cleanser Recipe

Mix chickpea flour with turmeric to cleanse and exfoliate your face. This will improve your skin texture, remove dead cells, moisturize and improve your complexion too.

Mask Recipe

  • Mix chickpea flour with turmeric powder and milk or yogurt
  • Make a fine paste apply it evenly on the face
  • Wash off thoroughly after 10-15 minutes with warm water

DIY A Chardonnay Glow Mask

Last week when I received a pitch about a Hollywood esthetician at the Hotel Bel-Air Spa giving her A-list clients vinotherapy treatments I thought... must be nice. After digging a bit further, I found that facialist to the stars, Nerida Joy, was generous enough to share a DIY treatment recipe created by Spa Director, Helen Storer, similar to the ones Jennifer Garner, Tyra Banks and Kate Beckinsdale often indulge in.  The secret's out – all you need is a little of chardonnay to make you glow.

Estancia Monterey County Chardonnay Glow Mask:

The natural ingredients of this mask will clear congestion and smooth your skin, leaving you with a radiant glow and smooth texture.

Ingredients:

1 tablespoon of oatmeal

1 tablespoon of Estancia Monterey County Chardonnay

2 tablespoons of plain unflavored yogurt, with active cultures

Mix all ingredients together to form a smooth paste. Spread the paste evenly on to a clean face and neck, avoiding the eye area.

Relax and leave the mask on for 10-15 minutes. You may place cucumber slices over your eyes for added benefits to the eye area. Try to meditate or clear your mind.

Rinse off with lukewarm water and end with a splash of cold. Pat your skin dry with a clean towel.

6 Chic DIY Halloween Nail Art Ideas

Personally, I think holiday nail art can get really cheesy.  If you take a look around the web you'll see countless ideas for Halloween inspired nail art, but are you really going to paint a pumpkin on your ring finger?  Let's be serious.  We're not all 50 year old third grade teachers.  The candy corn nail art above?  Yea, I let that one slide because I thought it was so well done and super easy to do, but below I rounded up the chicest Halloween nail art that excuses you from wearing a costume at all.

 Which one do you like best?

A DIY Recipe to Boost Your Hair Color

My latest Qwiki video is very personal.  Ok, well I don't dish about my personal life (not like you'd care if I did), but it's close to heart, because it's about something I've been preaching all summer long.  The sun and I haven't been friends.  Let's just say that it's almost Labor Day Weekend and I'm still pale, and would have faded hair color if this didn't work.  Yes, I've done this several times and have helped my friends fix their faded brunette strands as well.  Check out my DIY solution and you can save yours too without a trip to the salon.  

Play the Qwiki: Boost Your Hair Color with This DIY Treatment

Dear Jeannine... Can I use Lemon Juice as A Toner?

Dear Jeannine, Can I use lemon juice as a toner?  What does it do and how long will it last if I keep it in the fridge?

-Stephanie

This question came through via Twitter and since I've been doing a ton of DIY beauty TV segments lately it was right up my alley.  Yes, lemon juice has so many beauty benefits!  It  can be used as a toner, to help lighten age spots and acne marks.

Since lemon juice has a ton of acid in it, it can dry out your skin so use it sparingly and skip it all together if you have dry skin.  Whatever you do, don't just start rubbing lemon juice on your face!  You need to dilute it.  Take a spritzer bottle and mix a half a cup of lemon juice with a cup of water.  Once a day after cleansing, spritz it across your face and then apply your moisturizer.  You'll notice lighter, brighter skin in about four to six weeks.  Keep it in the fridge between uses and one bottle can last a week.

3 DIY Summer Hair Solutions Demonstrated on Better TV

I had so much fun with Audra Lowe and JD on Better TV DIYing some summer hair solutions.  If your color's fading, hair's feeling dry and fried or completely frizzy check out the video.  I have to say, I was prepping for this with my intern, Emily and we had a blast DIYing in my kitchen.  If you have a night off, I highly recommend doing some of these things with your BFF.  

3 Easy Ways to DIY Your Way to Healthy Summer Hair

Hello from Aruba!  Yes, I'm taking a time out from NYC for some R&R with my fam and Joe.  Even though I just colored my hair, the sun, salt water and chlorine are not going to stand in my way of a fun beach vacay, nor should they stand in yours all summer long.  However, we all know they can really wreck havoc on our manes!  Here are three easy ways to save your locks from summer's elements. Add moisture:

Blend half of an avocado with two tablespoons of olive oil and apply the mixture to damp hair.  Leave it on for 20 minutes, then shampoo and condition as normal.

Rid frizz:

Use coconut oil. Rub a dime sized amount in between your hands and then smooth it through your strands and braid them loosely. When you're ready to free them, your hair will have beachy waves with a nice sheen.

Boost faded color:

Tea treatments really work.  If you're blonde, opt for chamomile, and if you're brunette, go with black tea.  Steep four tea bags in one gallon boiling water for five minutes and let it cool before pouring it onto damp hair. Allow the tea to sit for about 10 minutes and rinse.